One-Time Passwords (OTPs) are a secure and efficient way to verify users when they log in to your website.
If you’re using the Wawp(WhatsApp WordPress Plugin), you can easily set up OTP messages for user authentication. This guide will walk you through configuring OTP login on Wawp step by step.
Why Use OTP Messages?
OTP authentication adds an extra layer of security by sending a temporary password to users via WhatsApp or email. This prevents unauthorized access and ensures only verified users log in. With WAWP, you can fully customize OTP messages and login settings to match your website’s branding and security preferences.
Wawp plugin is set up automatically upon installation for the first time, but it requires you to click the Save button to start using it for the first time. You can change the settings later.
Step-by-Step Guide to Setting Up OTP Messages on Wawp
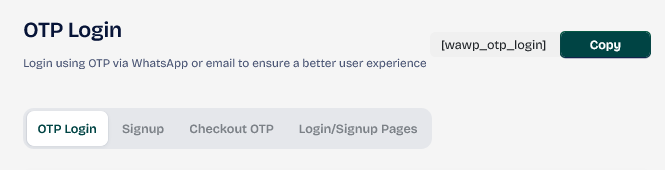
Step 1: Access OTP Settings in Wawp plugin
- Log into your WordPress dashboard.
- Navigate to Wawp Plugin → OTP Verification → OTP Login.
- Copy and paste the appropriate shortcode onto the page where you want the OTP login form to appear
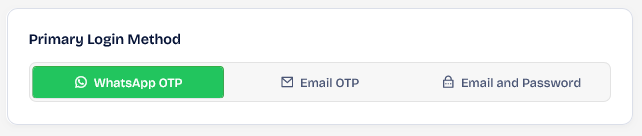
Step 2: Set the Primary Login Method
- Choose how users will log in (e.g., phone number or email).
- The primary method will appear as the default login option.
Step 3: Customize the OTP Message
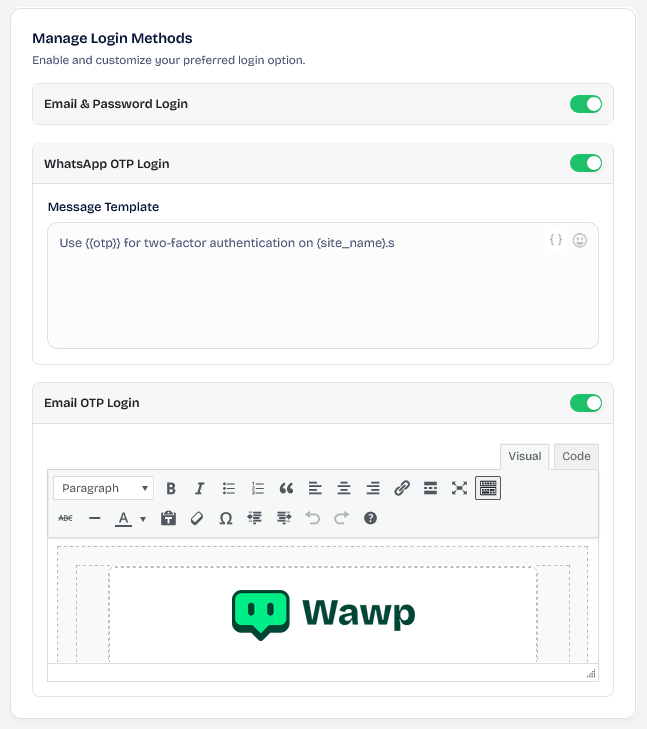
- Create a customized notification message that users will receive on WhatsApp.
- Make sure to include
{{otp}}– this placeholder automatically inserts the temporary password.

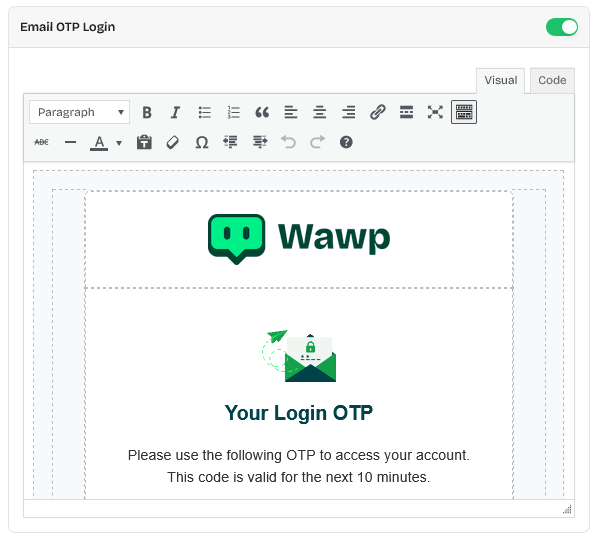
Step 4: Design the Email OTP Template
- If you’re offering email OTPs, create a custom HTML email template.
- Ensure the email is clear, professional, and contains the OTP.
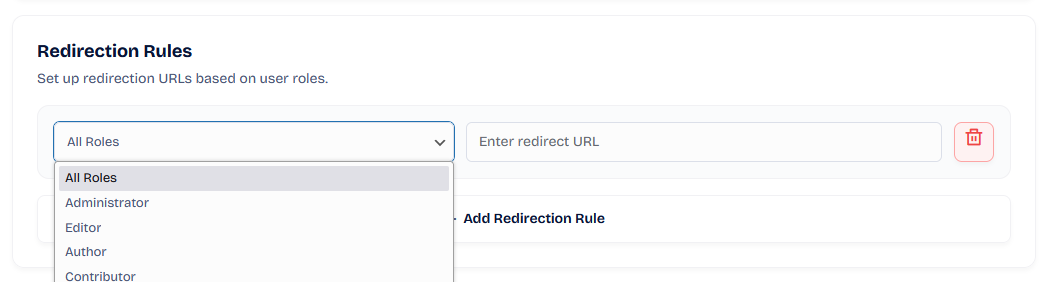
Step 5: Set Up Post-Login Redirection
- Redirect users to specific pages after they log in.
- Assign different redirection URLs based on user roles (e.g., customers, admins, subscribers).
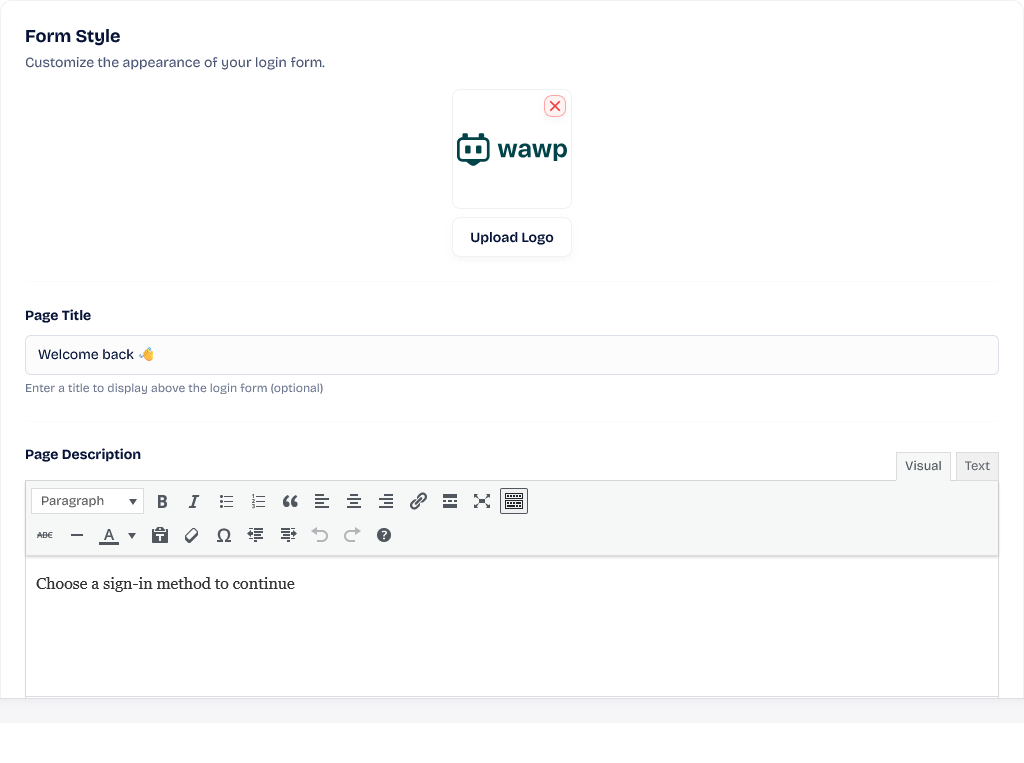
Step 6: Customize Login Form Appearance
- Add your brand logo, login form title, and a short description.
- This helps make the login form look more professional and trustworthy.
Step 7: Adjust Button Colors
- Modify the color of the login and submit buttons to match your website’s design.

Step 8: Enable Social Media Login (Optional)
- If you have a social media login plugin, insert its shortcode here.
- This allows users to log in using platforms like Facebook or Google.

Final Steps & Testing OTP Login
- Once all settings are configured, click “Save” to apply the changes.
- To test OTP login, visit the page where you’ve added the shortcode and try logging in.
- By default, Wawp creates a Fast-login page at:
- Replace
yourwebsite.comwith your actual domain.
Setting up OTP messages on Wawp is a simple yet powerful way to improve your website’s security and user experience. By following this guide, you can ensure smooth authentication while keeping your website safe from unauthorized access.