Introduction
Creating a robust shipping site on WordPress can streamline your logistics and customer communication. If you’re looking to build a WordPress shipping site with tracking shipments and automated notifications, this guide is for you. In today’s fast-paced market, real-time shipment tracking and prompt communication are crucial for customer satisfaction. With the right plugins, APIs, and tools like Wawp (WhatsApp Automation Web Platform), you can automate notifications and keep your customers informed throughout the shipping process.
In this post, we’ll cover the essential steps to build your shipping site, integrate shipment tracking APIs, and set up automated WhatsApp notifications using Wawp. Whether you’re a developer or a WordPress enthusiast ready to build your site with minimal coding, follow along to create a powerful logistics platform.
1. Setting Up Your WordPress Shipping Site
Before diving into tracking and notifications, you need a solid foundation. Setting up your WordPress shipping site involves choosing the right plugins and configuring your website to handle shipping services.
Step 1: Choose a Shipping Plugin
There are several WordPress plugins designed specifically for shipping management. Two popular choices include:
-
WooCommerce Shipping:
WooCommerce Shipping is an excellent tool for managing shipping options, rates, and labels. You can configure shipping zones, methods, and carriers easily.
Learn more about WooCommerce Shipping -
Advanced Shipment Tracking for WooCommerce:
This plugin helps you track shipments, update tracking information, and display tracking details to customers directly on your website.
Download Advanced Shipment Tracking for WooCommerce
After selecting a shipping plugin, install and activate it on your WordPress site. Configure your shipping settings based on your business needs—set up shipping zones, carriers, and rates.
Step 2: Design Your Shipping Site
Your shipping site should be user-friendly and clearly display shipping options and tracking information. Consider the following design elements:
-
User Dashboard:
Create a dashboard where customers can view their shipment status, tracking details, and estimated delivery times. -
Responsive Design:
Ensure that your site is mobile-friendly, as many users will access tracking information on their smartphones. -
Clear Call-to-Action Buttons:
Use buttons like “Track Your Shipment” and “Contact Support” to guide users.
Using a theme like Astra or OceanWP can be a good starting point, as they are lightweight and highly customizable for e-commerce and shipping sites.
2. Integrating Shipment Tracking APIs
Integrating a shipment tracking API is a vital component for a shipping site. This enables real-time tracking information to be displayed on your website.
Step 1: Select a Shipment Tracking API
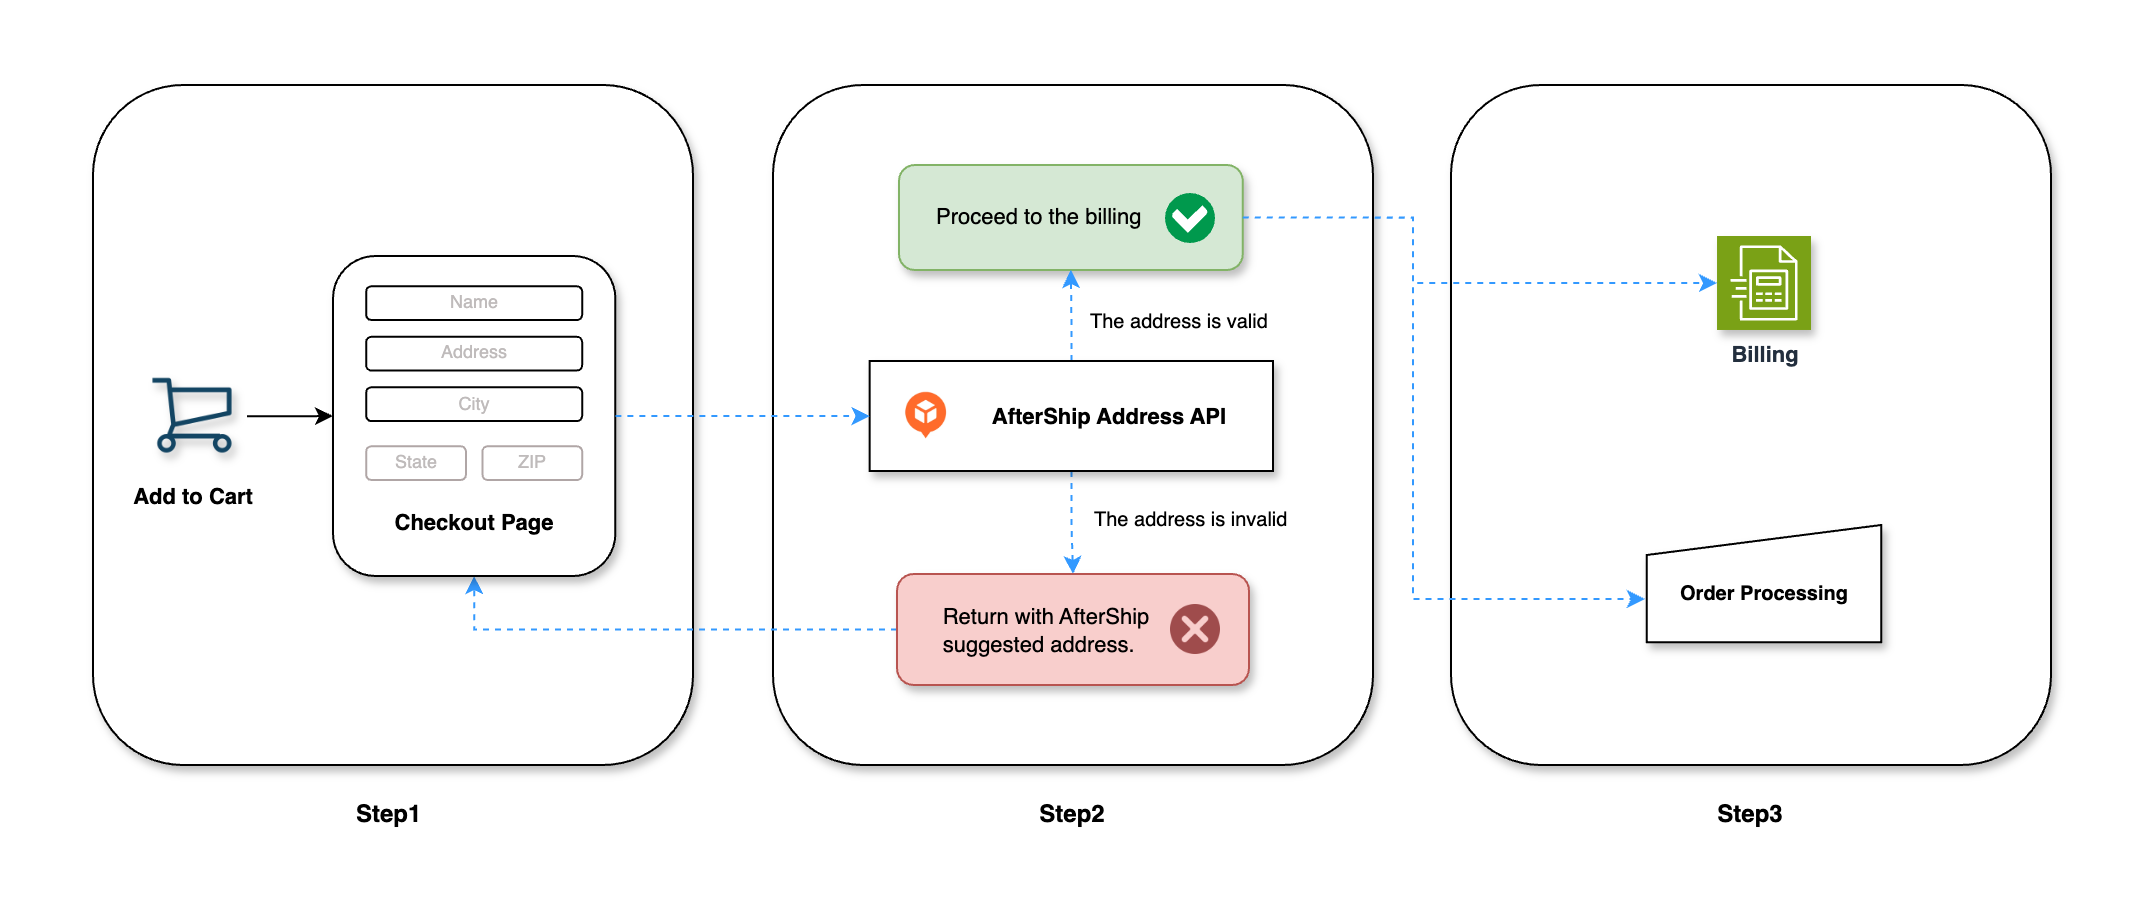
Several shipment tracking APIs are available depending on your carrier and region. Some popular options include:
-
AfterShip API:
AfterShip provides comprehensive tracking for multiple carriers worldwide.
Visit AfterShip
-
ShipEngine API:
ShipEngine supports multiple carriers and offers robust tracking functionalities.
Visit ShipEngine
Select an API that fits your business requirements and sign up for an API key.
Step 2: Create Custom PHP Functions for API Integration
Once you have your API key, you need to connect the API to your WordPress site. You can write custom PHP functions that fetch shipment data and display it on your website.
Below is an example of a simple PHP function to fetch tracking information using a hypothetical shipment tracking API:
function get_shipment_status($tracking_number) {
$api_key = ‘YOUR_API_KEY_HERE’;
$api_url = “https://api.aftership.com/v4/trackings/$tracking_number”;
$args = array(
‘headers’ => array(
‘aftership-api-key’ => $api_key,
)
);$response = wp_remote_get($api_url, $args);
if (is_wp_error($response)) {
return ‘Unable to fetch shipment status’;
}$body = wp_remote_retrieve_body($response);
$data = json_decode($body);if (isset($data->data->tracking)) {
return $data->data->tracking->tag; // e.g., “In Transit”, “Delivered”
}return ‘Status unavailable’;
}
add_shortcode(‘shipment_status’, ‘get_shipment_status’);
This function uses the WordPress REST API to connect with the shipment tracking service and retrieves the current status of a shipment using its tracking number. The shortcode [shipment_status] can then be added to any page to display shipment details.
Step 3: Display Shipment Data on Your Site
Integrate the tracking function into your tracking page. For instance, create a “Track Your Shipment” page and use the shortcode to display real-time tracking information. You may also include a form where users can enter their tracking number, which then calls your API function and displays the tracking status.
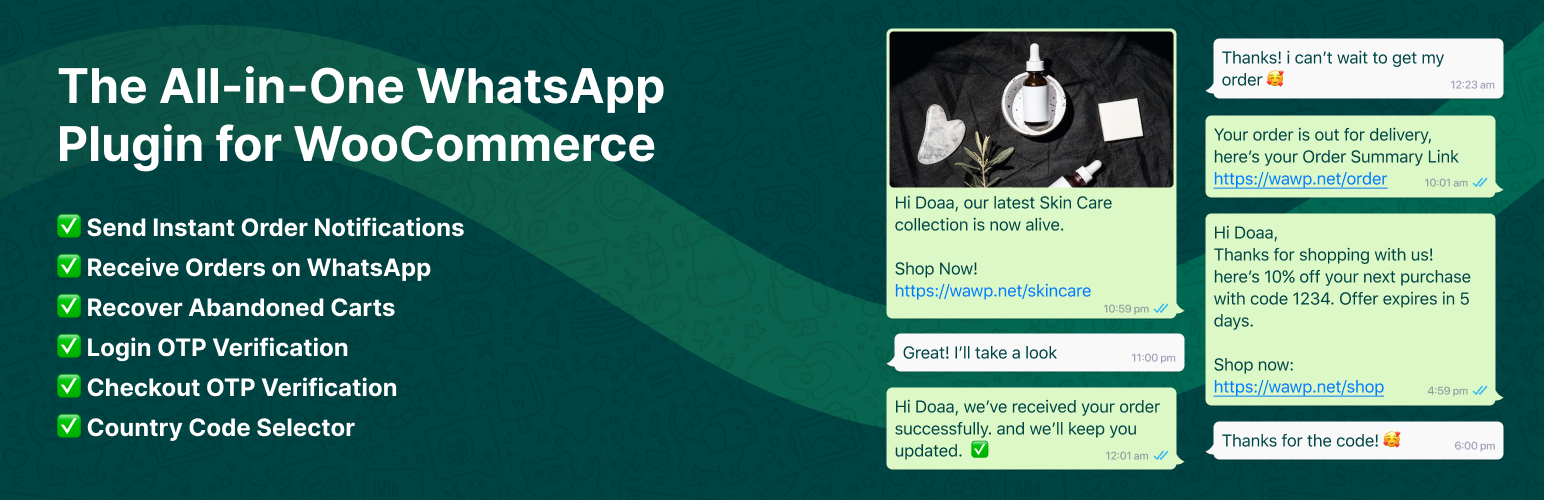
3. Automating WhatsApp Notifications with Wawp
Automated communication is key to ensuring your customers stay informed about their shipments. Wawp (WhatsApp Automation Web Platform) is an ideal tool for sending WhatsApp notifications based on shipping status updates.
Step 1: Install the Wawp Plugin
Start by installing the Wawp plugin on your WordPress site. You can download it from the WordPress plugin repository. Once installed, activate the plugin.
Step 2: Configure Wawp for Shipping Notifications
After activating Wawp, configure it to send notifications based on shipment events. Here’s how:
-
Set Up Automated Message Templates:
In the Wawp settings, create templates for different shipment events, such as:- Shipment Confirmation: Notify customers when their order has been shipped.
- In-Transit Updates: Send regular updates as the shipment is in transit.
- Delivery Notification: Inform customers once the package has been delivered.
Use dynamic variables like
{customer_name},{tracking_number}, and{shipment_status}to personalize each message. -
Integrate with Your Shipment Tracking System:
Configure triggers so that when your custom PHP function (or shipping plugin) updates the shipment status, Wawp automatically sends a WhatsApp message to the customer. For example, when the status changes from “In Transit” to “Delivered,” Wawp sends a notification. -
Monitor Notifications via Wawp Dashboard:
Wawp provides a unified dashboard to manage and monitor all WhatsApp messages. This ensures you can quickly follow up on any issues or customer inquiries.
For more detailed instructions, visit the Wawp documentation.
Step 3: Testing and Optimization
Before going live, test the entire notification workflow. Ensure that:
- The API successfully retrieves shipment status.
- The correct message template is triggered.
- Customers receive the WhatsApp notifications promptly.
This testing phase is crucial to ensure that your system is reliable and provides accurate information.

4. Managing Orders and Shipment Data with WooCommerce
In addition to shipping tracking, managing orders efficiently is vital for your shipping site. WooCommerce is an excellent solution for this.
Step 1: Set Up WooCommerce for Order Management
-
Install WooCommerce:
If not already installed, add WooCommerce to your WordPress site. Configure your store settings, currency, and payment gateways. -
Integrate Shipping Plugins:
Use shipping plugins like WooCommerce Shipping or Advanced Shipment Tracking for WooCommerce to link order data with tracking information. These plugins allow you to update order statuses and provide tracking links directly to customers.
Step 2: Link WooCommerce Orders with Shipment Tracking
With your custom shipment tracking API integrated, modify your order confirmation emails or dashboard to include tracking details. This integration ensures that customers have a seamless experience, from placing an order to tracking its delivery.
For example, you can customize WooCommerce email templates to include the shortcode [shipment_status tracking_number="{tracking_number}"], which dynamically displays the current shipment status.
5. Database Management for Shipment and Order Data
Proper database management is critical for a shipping site to ensure smooth operations and quick data retrieval.
Step 1: Using MySQL for Data Storage
WordPress uses MySQL as its default database. All order and shipment data, including customer details and tracking information, can be stored in MySQL tables. This centralization helps in maintaining data integrity and ease of access.
Step 2: Custom Tables for Enhanced Tracking
For better performance, you may consider creating custom tables specifically for shipment tracking data. This method allows for faster queries and better reporting capabilities. Ensure you regularly back up your database and optimize it for performance.
6. Ensuring a Seamless User Experience
To achieve first-page SEO results and provide a seamless user experience, focus on the following:
-
Responsive Design:
Ensure your website is mobile-friendly. Customers often track shipments on their mobile devices, so a responsive design is essential. -
Speed Optimization:
Use caching plugins and optimize images to ensure your site loads quickly. A fast website contributes to higher customer satisfaction and improved SEO rankings. -
Clear Navigation:
Design intuitive navigation so users can quickly find the shipment tracking page, order history, and customer support options. -
Comprehensive Support:
Offer easy access to FAQs and live support via WhatsApp or chat, ensuring customers receive immediate assistance when needed.
7. Testing, Launch, and Ongoing Optimization
Before launching your shipping site, thoroughly test every aspect of the system:
- API Integration: Verify that the shipment tracking API fetches and displays the correct data.
- WhatsApp Notifications: Ensure Wawp is sending messages accurately and promptly.
- Order Management: Confirm that WooCommerce orders correctly link with shipment tracking information.
- User Experience: Test your site on multiple devices and browsers for responsiveness and speed.
Once testing is complete, launch your site and monitor user interactions. Gather feedback and continually optimize your setup to maintain efficiency and improve customer satisfaction.
Conclusion
Building a WordPress shipping site with tracking shipments and automated WhatsApp notifications is achievable with the right tools and strategy. By integrating a reliable shipping plugin, a robust shipment tracking API, and automating communications with Wawp, you can create a seamless, efficient logistics platform for your customers.
Start by setting up your booking and shipping plugins, integrate your chosen tracking API, and then configure Wawp to send real-time notifications. With WooCommerce handling orders and MySQL managing your data, you’ll have a comprehensive system in place.
For further details on setting up WhatsApp notifications, check out the Wawp website and their documentation. These resources provide additional insights and help you fine-tune your integrations.
By following this guide, you’ll not only offer real-time shipment tracking but also enhance customer communication—ultimately driving satisfaction and loyalty. Whether you’re a seasoned developer or a WordPress beginner, these steps will help you build a high-performing shipping site that stands out in search results and delivers excellent user experiences.
