Introduction
Integrating a WordPress booking form with flight tracking and WhatsApp automation can revolutionize how you manage customer interactions and booking processes. Whether you are in the travel industry, offering flight-related services, or providing event reservations, this combination can improve both the user experience and operational efficiency. In this guide, we’ll walk you through the steps needed to set up a WordPress booking system, integrate flight tracking APIs, and automate WhatsApp notifications for a seamless customer service experience.
By using tools like Amelia, WooCommerce, and Wawp (WhatsApp Automation Web Platform), you can streamline your booking system and integrate flight tracking and WhatsApp messaging automation without requiring extensive coding knowledge.
Let’s explore the complete process.
1. Setting Up a WordPress Booking Form with Flight Tracking API Integration
To create a WordPress booking form with flight tracking, you need a system that allows you to handle flight bookings and integrate real-time flight data into your website. Amelia is a great plugin for managing bookings, while integrating flight tracking requires connecting an API like FlightRadar24.
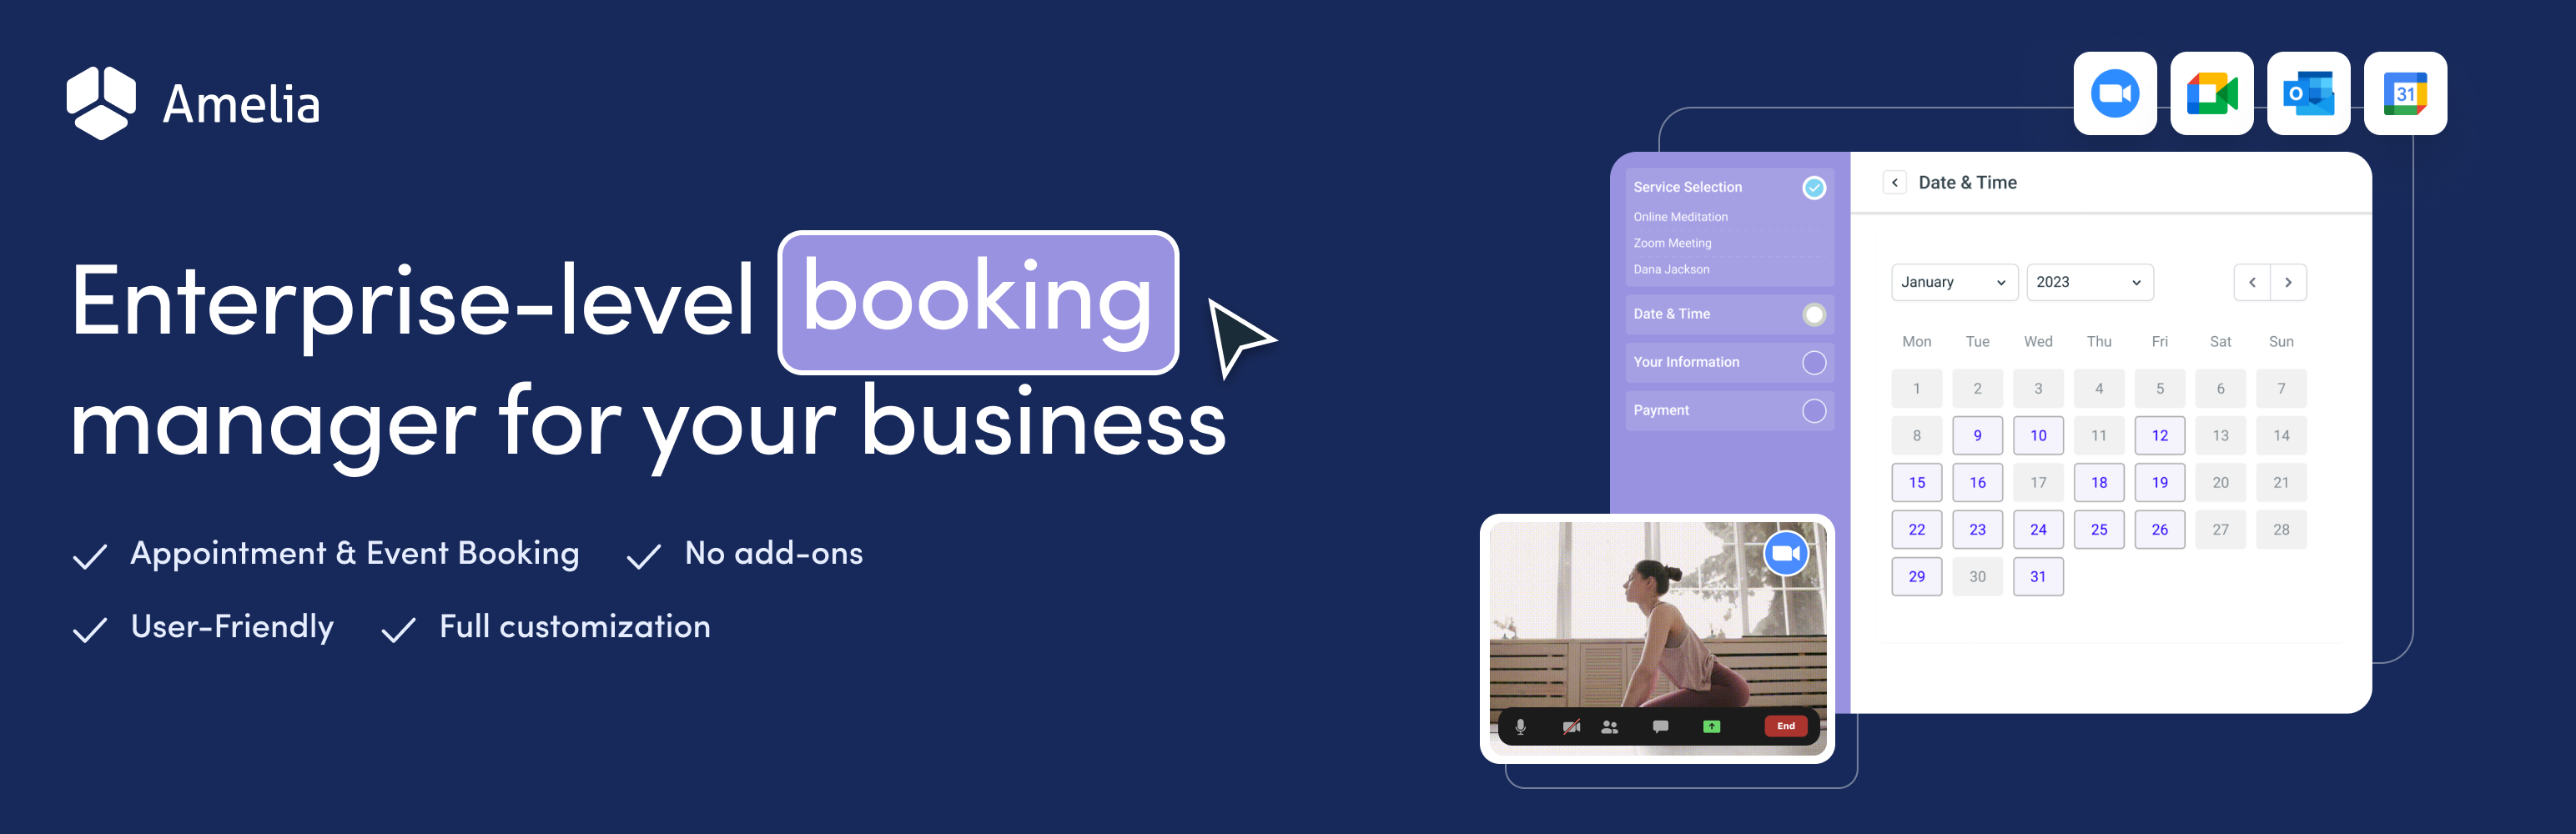
Step 1: Install and Set Up Amelia Booking Plugin
The Amelia booking plugin is a user-friendly solution that allows you to easily create booking forms for services, including flights. Here’s how to get started:
-
Download and Install Amelia: First, go to the WordPress plugin repository and install Amelia. After installation, activate the plugin.
-
Create a New Service for Flight Bookings: In the Amelia dashboard, you can create a new service for flight bookings. You can define flight details like the destination, date, and time.
-
Customize the Booking Form: For flight bookings, customize the form to collect relevant flight information, such as flight numbers, origins, destinations, and other customer details like names and contact information.

Step 2: Integrating the Flight Tracking API
Once your booking form is set up, the next step is integrating a flight tracking API to display real-time flight information. FlightRadar24 offers one of the best APIs for real-time flight tracking. Here’s how to integrate it:
-
Sign Up for a FlightRadar24 API Key: You’ll need to sign up for FlightRadar24 or another flight tracking service to get an API key.
-
Create Custom PHP Functions: To connect the FlightRadar24 API to your WordPress site, you can create custom PHP functions. These functions will pull real-time data from the API and display it within the booking form. Here’s an example:
This code uses the WordPress REST API to fetch flight data and display it on your booking page.
- Display the Flight Status: With this shortcode in place, you can display flight status directly on your booking page whenever a customer enters a flight number. It’s a seamless integration that ensures your customers are always up to date with their flight status.
Step 3: Display Flight Data on the Booking Form
Use the WordPress REST API to ensure that the flight status updates in real time on the page without the need for a refresh. This will help provide an interactive experience for your customers.
2. Automating WhatsApp Notifications with Wawp
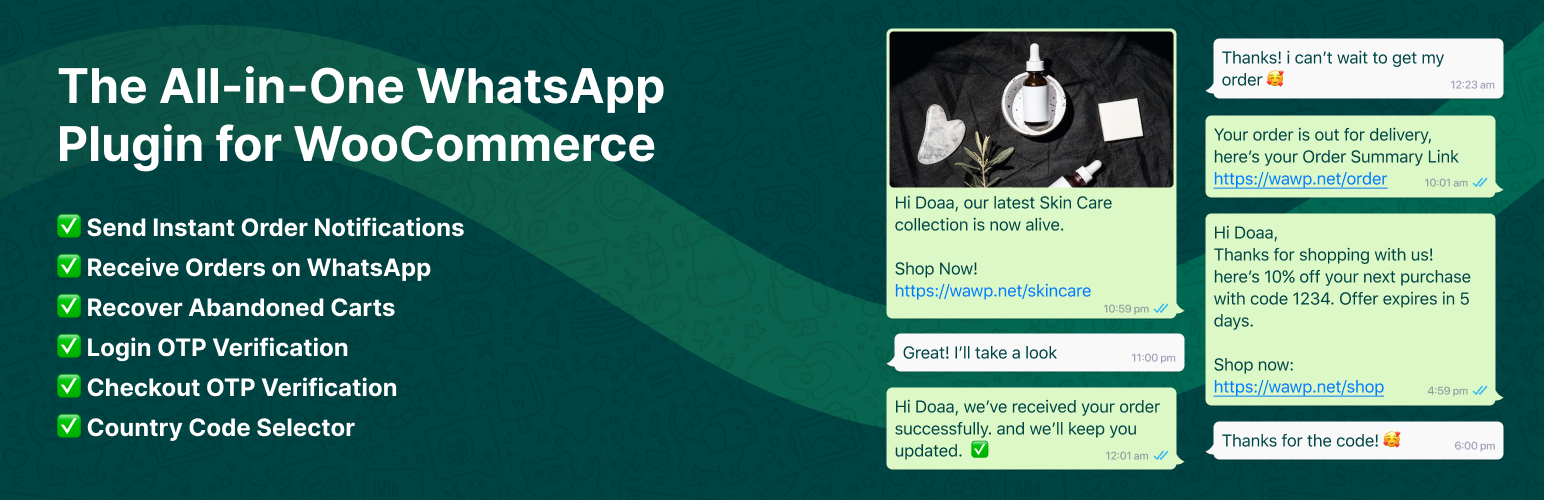
Automating WhatsApp notifications can enhance your customer communication. Wawp (WhatsApp Automation Web Platform) is an excellent tool for sending automatic WhatsApp messages based on booking actions like confirmations, reminders, or flight status updates.
Step 1: Install the Wawp Plugin
Start by installing the Wawp plugin from the WordPress plugin repository. Once installed, activate the plugin to begin automating your WhatsApp messages.
Step 2: Set Up Automated WhatsApp Messages
With Wawp, you can send WhatsApp notifications automatically when a customer books a flight or service, or when a flight’s status changes. Here’s how to configure it:
-
Create a WhatsApp Message Template: In Wawp, set up a template for your automated WhatsApp messages. These messages can include details like booking confirmation, flight information, and real-time flight updates.
-
Customize Message Content: Use dynamic variables such as
{customer_name},{flight_number}, and{booking_date}to personalize each message. -
Set Triggers for Sending WhatsApp Messages: Configure Wawp to send notifications based on specific triggers such as:
- Booking Confirmation: When a customer successfully books a service or flight.
- Flight Status Update: Automatically notify the customer if there is a change in flight status (delays, cancellations, etc.).
- Booking Reminders: Send a reminder about the upcoming booking or flight.
Step 3: Monitoring and Managing WhatsApp Messages
Wawp provides a unified dashboard that allows you to monitor and manage all incoming and outgoing messages. This makes it easier to respond to customer inquiries and keep track of automated communication.
Learn more about setting up WhatsApp notifications on Wawp’s getting started page.
3. Managing Billing Segregation by Channels
For businesses that accept bookings through multiple channels (website or WhatsApp), it’s essential to segregate bookings for billing and reporting purposes.
Step 1: Track the Source of Each Booking
You can use Amelia or Wawp to track the source of each booking by creating a custom field that indicates whether a customer booked through the website or WhatsApp.
-
Custom Field for Source Tracking: Add a hidden custom field in the booking form to capture the channel from which the booking originated.
-
Store Channel Data in the Database: You can store this information in the WordPress database or custom tables, making it easier to segregate bookings later on.
Step 2: Use the Data for Billing and Reporting
Once the source data is stored, you can generate reports or apply different billing rules based on the booking channel. For example, you could apply a discount for bookings made via WhatsApp, or adjust prices based on the channel used.

4. Payment Gateway Integrations with WooCommerce
Handling payments for your bookings can be done seamlessly through WooCommerce. WooCommerce is the most popular solution for payment processing in WordPress, and it integrates easily with Amelia.
Step 1: Integrate WooCommerce for Payment Processing
- Install WooCommerce: Download and install WooCommerce from the WordPress plugin repository.
- Set Up Payment Gateways: WooCommerce supports multiple payment gateways like PayPal and Stripe, which can be easily integrated with your booking system.
Step 2: Configure Payment Options for Flight Bookings
- Add Bookings as WooCommerce Products: Each flight or service can be set up as a product in WooCommerce, allowing you to manage payments efficiently.
- Customize Billing Options: Set different pricing models based on the booking channel or flight status, giving you complete flexibility in managing payments.
5. Handling the WordPress Database for Booking Data
Using MySQL as the default database for WordPress, you can store all your booking information, flight data, and customer details in a structured way.
Step 1: Store Booking Data in Custom Tables
To manage large amounts of booking data, create custom database tables for storing flight details and bookings. This will allow for faster queries and more efficient data management.
Conclusion
By following the steps outlined in this guide, you can successfully integrate a WordPress booking form with flight tracking, automate WhatsApp notifications using Wawp, and manage payments and billing segregation on your WordPress website. The combination of tools like Amelia, WooCommerce, and Wawp makes this process streamlined and achievable with minimal coding.
If you need more detailed information or assistance, you can check out the Wawp documentation.
Start building your system today and offer your customers a more automated and efficient experience. With the right tools and integrations, your WordPress site can be transformed into a powerful service hub for your customers.